Print Cafe of LI, Inc

Print Cafe of LI, Inc
Logo

Thursday, July 30, 2020

DTG(Digital) vs Screen Printing: What's The Difference?

DTG(Digital) vs Screen Printing: What's The     Difference?


 If you’re thinking about starting an apparel printing service for your business, it’s important to know the difference between DTG and screen printing. With the print industry constantly advancing with new technologies, this leaves printers with a variety of different print methods to choose from. When it comes to printing apparel, many are turning towards digital printing as it is both increasingly popular and affordable for printers. However, there are advantages and disadvantages for both print methods, which will be outlined in this quick guide. 

What’s the difference between DTG and screen printing? 

DTG (Direct-to-Garment)
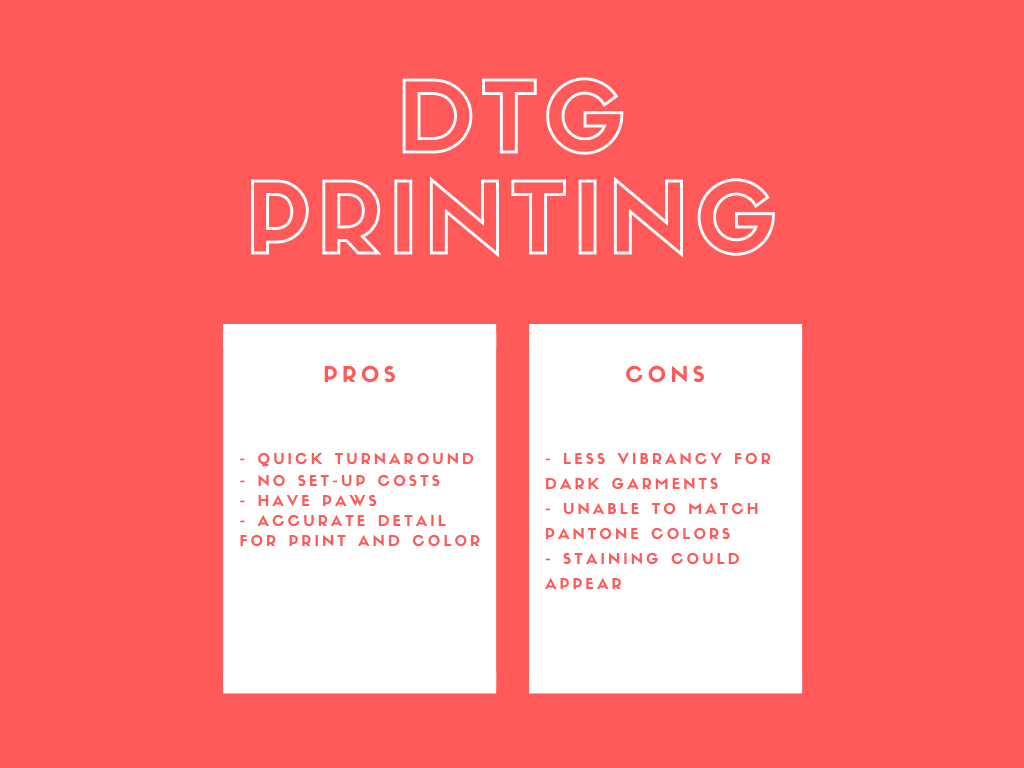
comparison-chart-showing-pros-and-cons-for-dtg-printing


DTG printing is the most standard and modern form of printing for apparel today. Thanks to the digital advancements we have in technology, DTG relies on a digital print head that works like an inkjet printer in your home or office. DTG offers extensive color options for print, which allows printers to print images in full-color and detail. This is beneficial especially for those looking for customization of printed apparel. 

Pros:

  • Quicker turnaround compared to screen printing
  • No set-up costs (ideal for low volume runs that are 100 or less)
  • A good option for designs that use a variety of different colors
  • Accurately prints full-color detailed photographs
  • Does not require artwork to be layer/colour separated or vector format

Cons:

  • Printing on dark-colored garments is less vibrant and maybe grainy
  • Unable to match exact Pantone colours
  • Obvious staining could appear due to how pre-treatment (under base layer for dark garments) reacts to the garment
For printers who are only planning to print in small batches, DTG is more ideal. 

Screen

 comparison-chart-showing-pros-and-cons-for-screen-printing

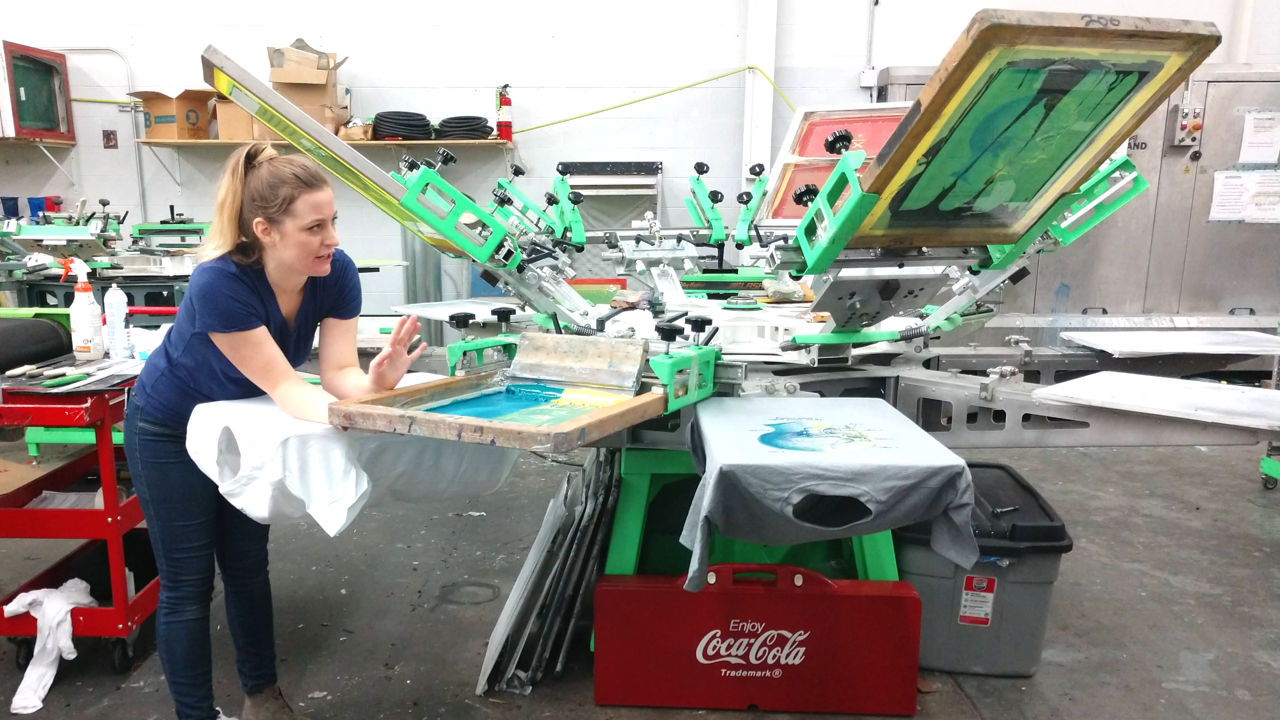
Before digital technology existed, screen-printing was the traditional method for printing on apparel. The process for screen printing involves pressing the ink down through a woven mesh-like stencil onto the fabric. Despite the limited colors, printed graphics can come out in full saturation. 

Pros: 

  • Flexible print material options
  • Works best with simple designs
  • Ideal for high print volume
  • Durability

Cons: 

  • Only good for high print volume
  • Setup more complicated 
  • Slower turnaround time
  • Limited colors
As opposed to DTG printing, screen printing is best for those who are looking to print a large quantity of apparel products. Many printers currently rely on screen printing because of the vibrant and durable results.

Which Method Should I Use?

For those who are new to printing apparel, you’re probably wondering which method is best for you. Before making a decision, do your research on both methods. The more knowledgeable you are about different print methods, the more reliable and insightful you appear to your clients. A few factors to take into consideration when choosing your print method:
  • The volume (Are you printing a low or high volume?)
  • The turnaround time
  • How complex are the designs you plan to print? 
  • What and how many colors will you be using?
  • Is a lot of time and effort needed for setup?
  • Which method is more cost-efficient for your business?
Overall, the easiest and most an effective way to grow your business today would likely be DTG printing. This method has been adopted by many printers in the modern print industry and its ease of access and setup save time and resources. Also, with the rising popularity and need for customization from clients, this is where DTG plays a big role in the apparel industry. 
At The Print Cafe of LI, our apparel printing service is brought to life through DTG printing. We strive to offer quick turnaround times and customization for your convenience. Check out the apparel printing service we offer at, The Print Cafe of LI, and start fulfilling your clients’ needs with printed apparel today!

Visit our Website at www.printcafeli.com

Wednesday, July 15, 2020

Five Things Every Graphic Designer Should Be Doing to Promote Themselves

Your designs may be top notch, but even the best freelance graphic designer needs to know how to promote their services to win more business. To get more clients, you’ll need to make your design services known. As a freelancer, promotion is critical to master because most of the time you’ll have to do it yourself.
Here are the 5 things that freelancers should be doing to promote themselves.

How to Promote Yourself as a Freelance Graphic Designer

1. Create a Brand for Yourself

Before you do anything else, you need to brand yourself. This includes identifying your style, specifying the types of designer you are (e.g. print designer, web designer, etc.), creating a logo and more. Think about what makes your designs special, and why you design at all. Then translate that into your branding, whether it’s in your slogan, design portfolio, business cards, or anything else.
An established brand helps potential clients (and current clients) identify your business and understand why they should choose your services. Perhaps they identify with your values or find your style a perfect match for their business.

2. Create a Website

This is your “real estate” where you can get creative. We recommend creating your website on a platform that gives you traffic insights (e.g. WordPress). Your website is where you can take your branding to its highest level. Tell your story, show your designs, and make contacting you easy. Ensure that it is user-friendly and that it includes a quote form.

3. Promote on Social Media

Social media is also a great place to showcase your brand and drive traffic to your website. Many designers already use it, but make sure that you’re one step ahead by maximizing social media’s potential. First, separate your personal account from your business account to keep it professional. Many social media platforms also allow special features for business accounts, so be sure to take advantage of them.
Second, join groups—not just groups for designers but also groups related to potential clients and business partners. For example, if you specialize in designing for print, considering joining a print related group. Not only will you get valuable information that could help your designing process, but these groups could also hook you up with some good deals in the future.

4. Network at Social Events

Networking online is important, but so is networking in person at social events. These include not just traditional networking events but also job fairs, trade shows, conventions, and more. Attending in person helps build trust between you and your potential customers or business partners.
Networking events are especially important for graphic designers because your clients will often be people who are a little less tech savvy. That’s why they need your help. So instead of interacting with you on social media, they may feel a lot more comfortable talking to you face to face.
Tip: If you design for print, social networking events are a great opportunity for handing out printed samples of your designs.

5. Start a Blog

When you create a blog packed with informative content, appealing designs and unique branding, you demonstrate that you’re a knowledgeable professional who is consistently producing high quality designs. Don’t forget to use SEO to increase your online presence, so that those searching online can find you.
Having a blog also gives you more things to post on social media. Link back to your blog when you repost the content on social media. And finally, interact with other design blogs to expand your professional network. 
Promoting your graphic design business is a step that every freelancer needs to take, from branding yourself to updating your blog frequently. Make sure your promotional strategy includes at least these 5 tactics so that you can expand your client base and grow your business.https://store.printcafeli.com/blog/Print_Cafe_Blog.html 
For More Information Call: 516-561-1468

Tuesday, July 7, 2020

6 Ways to Add Bleed (and How to Choose the Best One)

   6 Ways to Add Bleed (and How to Choose the Best One)

Missing bleed is one of the most common problems in print files. Bleed is the extension of the artwork on each side to allow for cutter variance, so it’s an essential part of a good print file. Bleed requirements differ among printers but a commonly minimum is 0.125” on each side.
Many of your clients may not know how to add bleed, leaving the task in your hands. There are several different ways to add bleed. Naturally, each has its own advantages and disadvantages.
We’ll cover them in this article so that you can easily choose the best way to add bleed to your clients’ files.

Adding Bleeding to Your Print Files


1. Release or Remove Masks

Sometimes the bleed is just hidden by a mask that’s set around the edge of the trim area. When you release or remove the mask, it appears, so you’re therefore not truly adding bleed; you’re just unmasking it.
 
before and after removing mask

Pros

  • It won’t distort the artwork or change image resolution.
  • The client may have provided the bleed that they wanted underneath.
  • It can be quick and easy if the file is built simply.
Cons

  • There may not be any bleed hidden after all.
  • You risk unmasking other elements that were intentionally hidden.
  • Time-consuming if the file is complex with multiple masks.

2. Increase Artwork Size

Another way to add bleed is to increase the size of the entire artwork, or part of it (e.g. the background). This method is most suitable when there are no important elements close to the trim edge.

before and after enlarging artwork

Pros

  • When enlarging the entire artwork, the ratio won’t get distorted.
  • It’s a fast and easy fix.
  • Most clients won’t be able to tell if their artwork was increased by 1-2%.
Cons

  • Elements close to the edge may get cut off (e.g. thin borders).
  • Enlarging raster images will slightly affect their resolution.
  • The client may be able to tell that their artwork was enlarged.

3. Decrease Artwork Size

Similarly, you can shrink the artwork. This leaves a white border. You’re not actually adding bleed, just eliminating the need for one. Alternatively, you may choose to add a color to this border and add bleed to that.


before and after shrinking artwork

Pros

  • It’s a fast and easy fix.
  • It actually slightly improves the resolution.
  • None of the artwork will get cut off.
Cons

  • There is a very obvious change in the artwork, which may not be wanted.
  • You risk having uneven borders due to both resizing and cutter movement.
  • Small type may become harder to read.

4. Stretch Elements

This technique is most suitable when objects that are missing bleed are rectangular vector elements with no curves, as you can easily stretch them out without distortion or pulling parts too close to the edge.

before and after stretching artwork

Pros

  • It will only impact the element that is getting stretched.
  • It can be quick and easy on certain types of artwork.
  • Most clients won’t be able to tell if you stretch an unimportant part of the artwork.
Cons

  • Distortion will occur on non-rectangular vector elements and raster images.
  • Parts of the stretched element may get cut off if they’re close to the trim edge.
  • You may also have to delete masks.

5. Add Objects

Adding shapes to the bleed area works best when the artwork at the trim edge is a solid color. It’s still possible if it isn’t, but takes much more time. Ideally, you are purely adding bleed and not touching anything else.

before and after adding elements

Pros

  • You are not changing any artwork within the trim area.
  • It can be done using even simple image editing software.
  • If done well on the right type of artwork, clients won’t be able to tell the difference.
Cons

  • The added bleed may not perfectly match the edge of the original artwork.
  • It can be time-consuming.
  • The difficulty level can be high depending on the artwork.

6. Flip the Artwork

Flipping the artwork at the trim edge to create a reflected mirror image for the bleed is a function available in some programs and plugins. This produces a symmetrical image with the line of symmetry at the trim. There is no hard rule for what works best here, so you may have to test it out to see whether the result visually “makes sense.”

before and after flipping artwork

Pros

  • With the right plugin/program tool it can be fast and easy.
  • It won’t distort or change the artwork within the trim area.
  • It matches the same colors and shapes in the artwork.
Cons

  • It requires a higher level of image editing software/plugin.
  • The results may appear nonsensical and not what the client intended.
  • It won’t work if there’s a thin border or if the artwork doesn’t fully touch the trim edge.

Conclusion: Using Good Judgement

A good bleed makes a big difference, but not all bleed is good bleed. The methods that we shared here produce different results depending on the nature of the artwork, so always exercise your own good judgment in addition to the tips we’ve provided. Sometimes you may even choose not to add bleed. 
https://store.printcafeli.com/blog/Print_Cafe_Blog.html